000 Setting up your computer
Introduction
In this course you will write Python code on your own laptop. Before we can start, you need a few free programs:
- VS Code (Visual Studio Code) is where you will write and run your code. It is an editor, much like a word processor for code, and it works with many programming languages.
- uv installs Python for you and keeps track of the packages each of your labs uses. Packages are add-ons that give Python new abilities, like reading a spreadsheet or making a plot.
- Python is the programming language we will use. uv will install it.
- git keeps a history of your work and lets you hand it in through GitHub. We start using it in week 2, but it is easiest to install it now.
You need a Mac running macOS 12 (Monterey) or newer, or a laptop running Windows 10 or 11. Both Intel and Apple silicon Macs work, and so do Windows laptops with Arm processors. If your laptop is something else, a Chromebook or an iPad for example, tell your instructor in the first week.
Setting everything up takes 30 to 60 minutes, and much of that is waiting for downloads. Work through the steps in order. If a step does not work the way this page describes, stop there and check Troubleshooting, or bring your laptop to class or office hours.
Choose your operating system in the tabs below.
Install VS Code
- Download VS Code for Mac from https://code.visualstudio.com/Download.
- Open the downloaded file (it ends in .dmg). A window opens with the Visual Studio Code app in it.
- Drag Visual Studio Code into your Applications folder.
- Open VS Code from your Applications folder, or with Spotlight search: press command + space bar, type
Visual Studio Code, and hit return. If your Mac asks whether you are sure you want to open an app downloaded from the internet, click Open.
- Download the Windows User Installer from https://code.visualstudio.com/Download. (The big Windows button on that page gets it.)
- Double click the installer (its name starts with VSCodeUserSetup) and accept the default options.
- Open VS Code from the Windows menu or Windows Search.
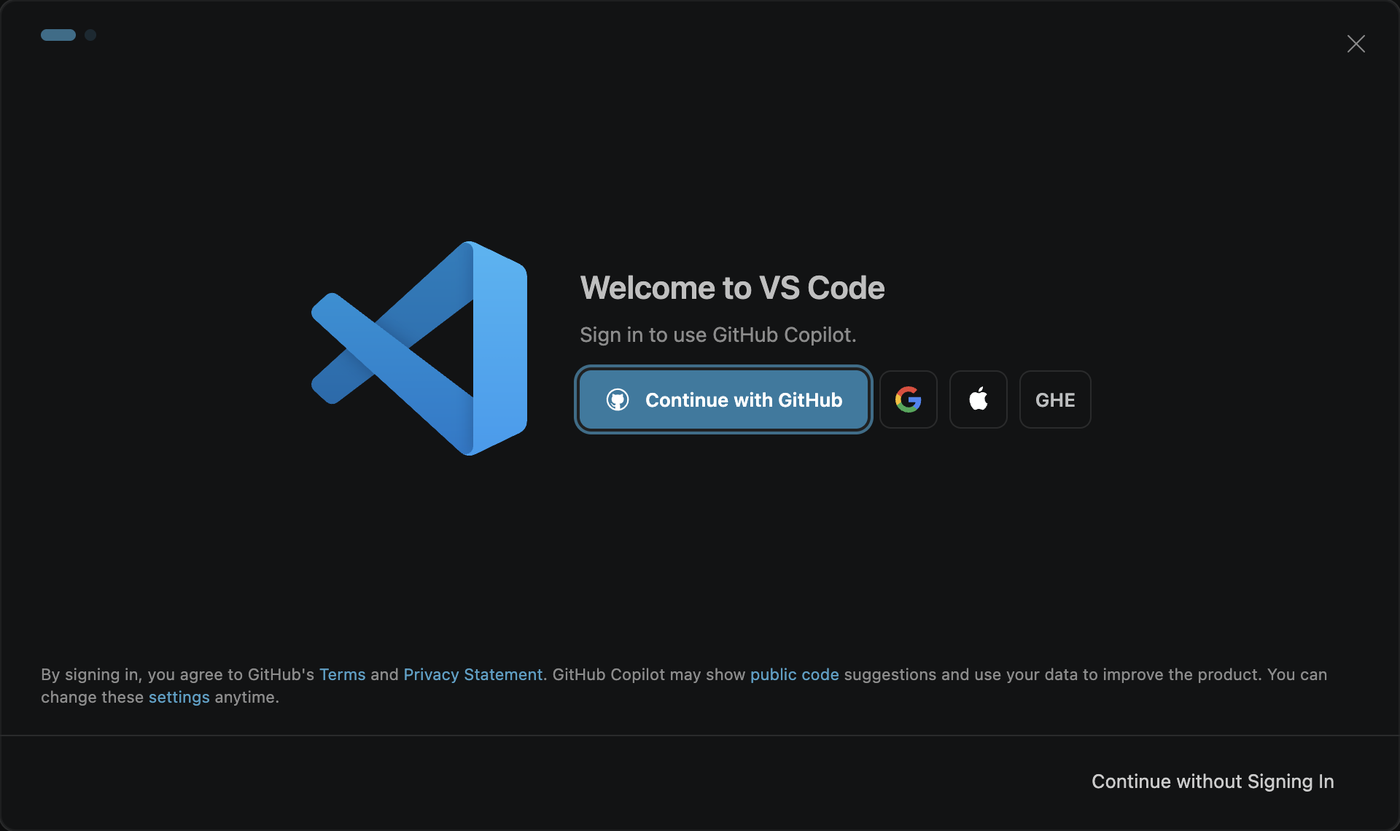
The first time VS Code opens, it asks you to sign in to use GitHub Copilot, its AI assistant. You do not need to. Click Continue without Signing In in the lower right corner. If it then asks you to choose a color theme, pick any one you like and click Get Started. (You can change it later.)
Install the Python and Jupyter extensions
Extensions add features to VS Code. We need two of them, both made by Microsoft: Python and Jupyter.
- Click the Extensions button in the bar on the left side of the VS Code window (the icon made of four squares).
- Type
Pythonin the search box at the top of the Extensions panel. - Find the extension named Python by Microsoft (it has a blue check mark next to Microsoft’s name) and click Install.
- Now search for
Jupyter, find Jupyter by Microsoft, and click Install.
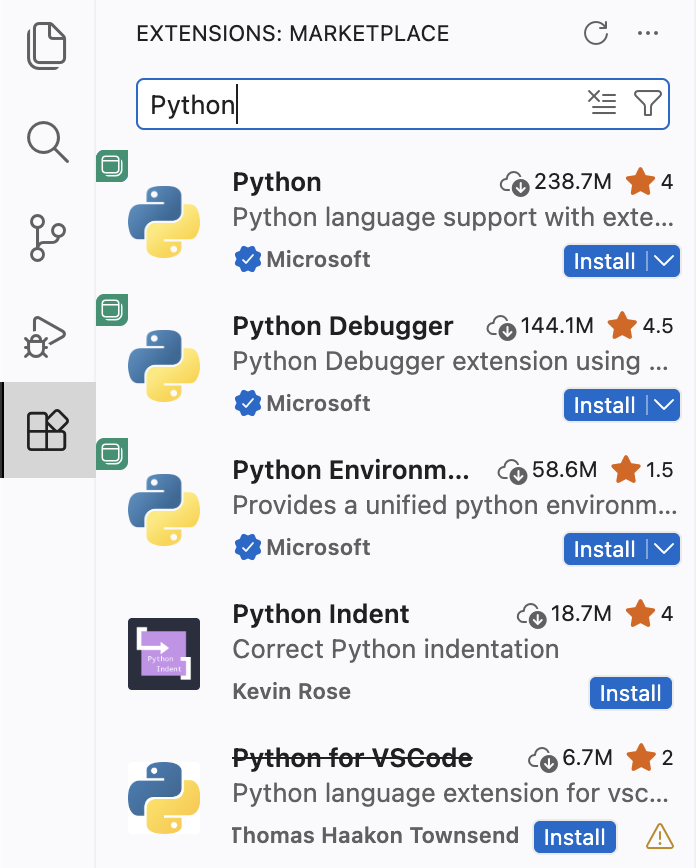
Installing Python also installs a few helpers that come with it (Pylance, Python Debugger, and Python Environments), and Jupyter brings a few of its own. That is expected.
Turn off VS Code’s built-in AI
VS Code comes with AI features built in: a chat panel and suggestions that finish your code for you as you type. In the first weeks of this course you will write your code yourself, so turn these off. (Later in the semester some assignments will ask you to use AI tools, and you will get instructions then. See the AI use policy.)
- Open the settings: in the menu bar choose Code › Settings… › Settings (or press command + comma).
- Type
disable ai featuresin the search box at the top. - Check the box under Chat: Disable AI Features.
- Open the settings: choose File › Preferences › Settings (or press Ctrl + comma).
- Type
disable ai featuresin the search box at the top. - Check the box under Chat: Disable AI Features.
The setting takes effect right away. The Chat panel and the Sign In button at the top of the window disappear. Then close the settings. (If you have added other AI extensions to VS Code in the past, turn them off for these weeks too: in the Extensions panel, click the gear next to each one and choose Disable.)

Open a terminal
A terminal is a window where you type commands for your computer to run. It is separate from Python. You use it to tell your computer to do things like install programs or make folders. VS Code has a terminal built in.
Choose Terminal › New Terminal from the menu bar. A panel opens at the bottom of the VS Code window with a prompt, a line that ends with a symbol like % or > and waits for you to type. When this page asks you to run a command, type it at the prompt (or paste it) and hit return (enter on Windows).
Install uv and Python
uv is free and open source. The command below downloads uv’s installer and runs it, which is the installation method recommended in uv’s documentation.
Run this command in the terminal:
curl -LsSf https://astral.sh/uv/install.sh | shRun this command in the terminal:
powershell -ExecutionPolicy ByPass -c "irm https://astral.sh/uv/install.ps1 | iex"When the installer finishes, quit VS Code completely and open it again. On a Mac, press command + Q, because closing the window does not quit VS Code. A terminal finds newly installed programs only when it starts. Then open a new terminal (Terminal › New Terminal) and check that uv is installed:
uv --versionIt should print a version number, something like uv 0.12.19. Your number may be larger, and that is fine.
Now ask uv to install Python. We will all use Python 3.14 this semester.
uv python install 3.14This downloads Python and prints a line that begins with Installed Python 3.14. You do not need to do anything else with it. uv will find this Python whenever a lab asks for it.
Install git
Macs can install git as part of Apple’s command line developer tools. In the terminal, run
git --versionIf git is already installed, this prints something like git version 2.50.1, and you are done with this step. If it is not installed, your Mac will ask whether you want to install the command line developer tools. Click Install and agree to the license. The download is large and can take 10 minutes or more. When it finishes, run git --version again to check.
- Download Git for Windows from https://git-scm.com/downloads/win (the Click here to download link at the top gets the right version for most computers).
- Double click the installer. It asks a lot of questions. Accept the default answers, with one exception: when it asks for the default editor used by Git, choose Use Visual Studio Code as Git’s default editor.
- Quit VS Code and open it again, open a new terminal, and run
git --versionIt should print something like git version 2.51.0.windows.1.
Make a folder for the course
All of your work for this course will go in one folder called CSCI295, with a separate folder inside it for each lab. Put it in your home folder (the folder with your user name), not in Documents or on your Desktop. On many laptops those two folders are synced to iCloud or OneDrive, and syncing software has trouble with the large number of small files a lab’s folder contains. (Your work will be backed up on GitHub starting in week 2.)
Make the folder from the terminal. This command works on both Macs and Windows:
mkdir ~/CSCI295The ~ is shorthand for your home folder. To check that the folder exists, run ls ~ and look for CSCI295 in the list.
Make a GitHub account (before week 2)
Starting in week 2 you will get each lab from GitHub and hand it in there. If you do not already have a GitHub account, make one at https://github.com/signup.
- You do not need to use your real name or your Hope email address. Any email address you check will work.
- Choose a username you are comfortable with others seeing. Your instructors will see it, and in group projects so will your group. It does not need to identify you, and it is better if it does not.
- Your work for this course will be in private repositories that only you and your instructors (and, for group projects, your group) can see.
If you already have a GitHub account, you can use it, or make a separate one for this course. Either way, send your GitHub username to your instructor with the form on Moodle by the end of the first week. We use it to give you access to your repositories. Moodle is the only place where your username is connected to your name, and your grades stay in Moodle too.
Check your setup
Open a new terminal in VS Code and run these three commands, one at a time:
uv --version
uv run --python 3.14 python --version
git --version
Each one should print a version number: uv’s, Python’s (it should start with Python 3.14), and git’s.

If all three work, you are ready for 010 First steps in Python. If one does not, look it up in Troubleshooting or bring your laptop to class.